
1. SAFETY PRECAUTIONS
- Qualified Personnel Only: Operation restricted to trained, authorized staff.
- High Temperature & Pressure Risk: Avoid contact with hot oil, chamber, pipes; risk of burns.
- Vacuum Safety: Do not open chamber door under negative pressure. Vent fully first.
- Electrical Safety: Ensure proper grounding; no wet hands near control panel.
- Fire Hazard: Keep flammables away. Use food-grade oil only.
- Emergency Stop: Use E-Stop in abnormal conditions (leak, overheat, abnormal noise).
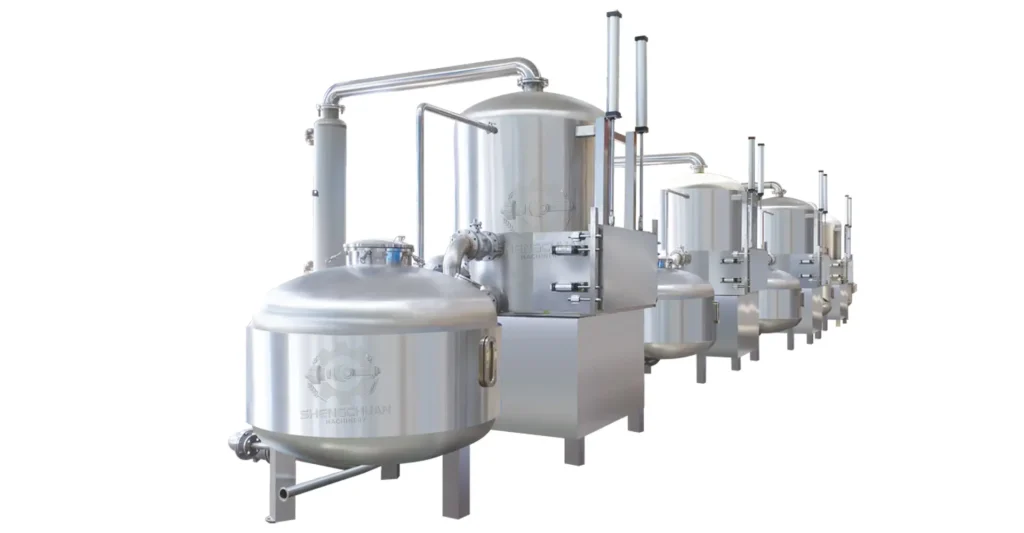
2. MACHINE SPECIFICATIONS
- Working Vacuum: -0.085 ~ -0.095 MPa
- Frying Temp: 70°C ~ 95°C (low-temp, product-dependent)
- Oil Volume: 100L / 200L / 500L (MIN–MAX marked)
- Power: 380V 50Hz 3-phase
- Materials: Food-grade SUS304 stainless steel
- Functions: Heating → Vacuum → Frying → Auto de-oiling → Venting → Discharge
3. BEFORE OPERATION (PRE-START CHECK)
- Cleaning: Ensure chamber, basket, oil tank are clean; no food residue.
- Oil Level: Fill cooking oil to between MIN and MAX lines.
- Never run heating with no oil or low oil (prevents dry burning).
- Utilities:
- Connect power, confirm voltage.
- Check water supply for vacuum pump (if water-cooled).
- Check all valves, pipes, seals for tightness (no leaks).
- Settings: On HMI, set:
- Frying temperature: 80–90°C (fruits) / 85–95°C (vegetables)
- Frying time: 20–60 min (product-dependent)
- De-oiling time: 2–5 min
- De-oiling speed: 10–15 Hz
4. STANDARD OPERATING PROCEDURE
Step 1: Preheat Oil
- Press HEAT; system heats oil to set temp.
- Monitor temperature; stabilize before loading.
Step 2: Load Material
- Cut raw materials uniformly (thickness 3–8 mm).
- Load into frying basket; do not overfill (max 70% capacity).
- Place basket in chamber; securely close and lock door.
Step 3: Evacuate (Pull Vacuum)
- Close vent valve; start vacuum pump.
- Wait until vacuum reaches -0.09 MPa.
Step 4: Start Frying
- Lower basket into hot oil (auto/manual).
- Start timer; basket rotates slowly for even cooking.
- Monitor via sight glass; do not leave unattended.
Step 5: De-oiling (Post-Fry)
- When time ends: lift basket; start centrifugal de-oiling.
- Run set time to reduce product oil content.
Step 6: Vent & Open Chamber
- Stop vacuum pump; slowly open vent valve to equalize pressure.
- Only open door when pressure = 0 MPa (atmospheric).
Step 7: Unload & Cool
- Remove basket; transfer product to cooling tray.
- Cool before packaging.
Step 8: Shut Down
- Press STOP; turn off heating.
- Cool oil below 60°C before filtering/storing.
- Clean chamber, basket, filters.
- Turn off main power and water.
5. MAINTENANCE SCHEDULE
Daily
- Clean chamber, basket, filters.
- Check oil quality; filter or replace if deteriorated.
- Inspect door seal for damage.
Weekly
- Clean vacuum pump oil/water separator.
- Check pipe connections for leaks.
- Calibrate temperature and vacuum gauges.
Monthly/Quarterly
- Replace vacuum pump oil (per manufacturer).
- Tighten electrical connections.
- Lubricate rotating parts (bearings, chains).
6. TROUBLESHOOTING
- Low vacuum: Check door seal; close valves; repair leaks.
- Temp not rising: Check heater; thermostat; power.
- Unstable frying: Uneven loading; low oil; incorrect vacuum.
- Excessive oil in product: Short de-oil time; low speed.
- Abnormal noise: Loose parts; bearing wear; pump issue.
7. TYPICAL PROCESS PARAMETERS (EXAMPLES)
- Banana chips: 85°C / 35 min / vacuum -0.09 MPa / de-oil 3 min
- Carrot chips: 90°C / 40 min / vacuum -0.09 MPa / de-oil 3 min
- Shrimp chips: 90°C / 25 min / vacuum -0.09 MPa / de-oil 2 min
- Mushroom chips: 85°C / 30 min / vacuum -0.09 MPa / de-oil 3 min
Notes:
- Adjust parameters based on raw material, moisture, thickness.
- Keep this manual at machine for reference.